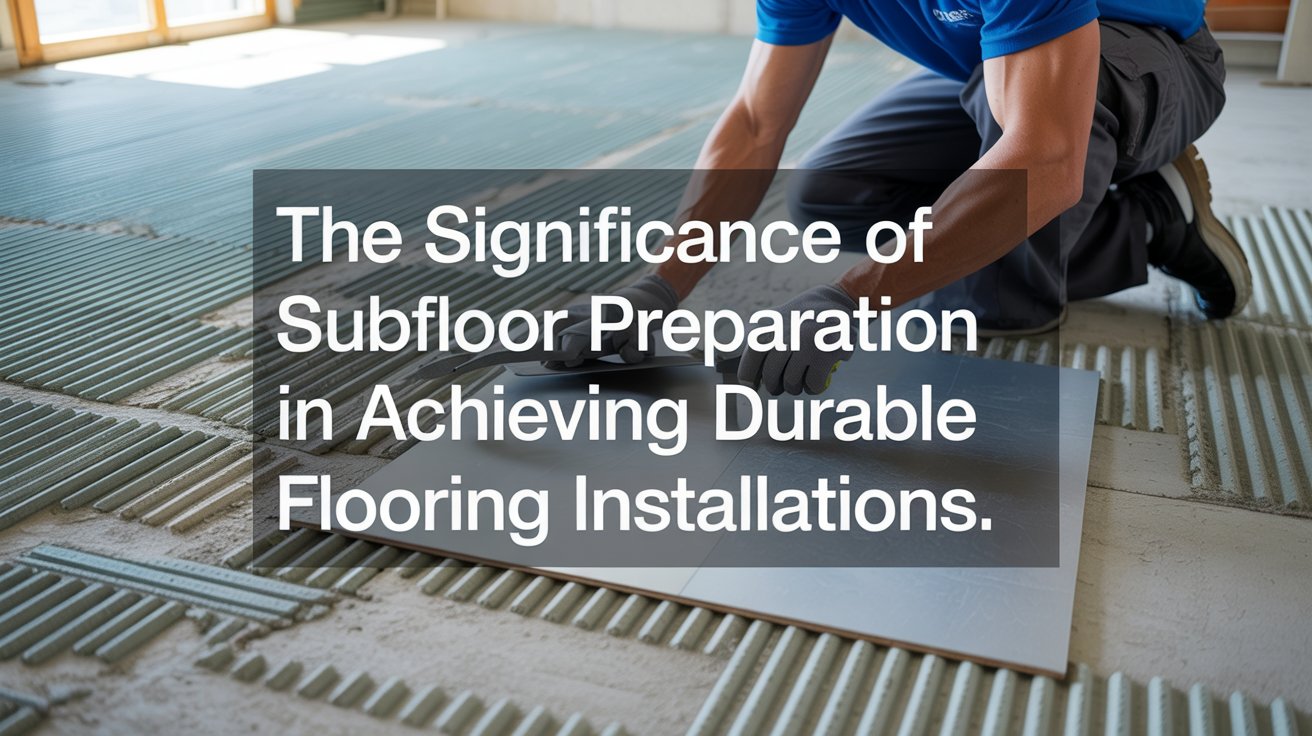
The Significance of Subfloor Preparation in Achieving Durable Flooring Installations
I have been, or can be if you click on a link and make a purchase, compensated via a cash payment, gift, or something else of value for writing this post. As an Amazon Associate, I earn from qualifying purchases. Please read my full Affiliate Disclosure for more information.
Subfloor preparation is the foundation for durable flooring installations. You must assess moisture, verify flatness, and guarantee structural support before any finish work. Use calibrated moisture tests across depths, correct high/low spots with compatible leveling compounds, and reinforce weak areas to prevent telegraphing and gaps. Proper sealing and selective underlayment controls moisture migration and improves adhesion. By stabilizing the substrate, you minimize premature failures and extend flooring life. If you keep going, you’ll uncover essential prep steps and checks.
Key Takeaways
- Proper subfloor preparation ensures a stable, flat surface that prevents telegraphing, cracking, and uneven wear in durable flooring installations.
- Moisture control and accurate readings protect adhesive performance and substrate integrity, reducing warping and mold risk over time.
- Repairing defects and reinforcing structural support avert movement or soft spots that compromise long-term floor durability.
- Leveling, patching, and appropriate underlayment create uniform load distribution, minimizing flex and extending flooring life.
- Thorough surface prep, cleaning, and priming improve adhesion and finish quality, ensuring reliable performance and easier maintenance.
Assessing Subfloor Condition and Moisture Control
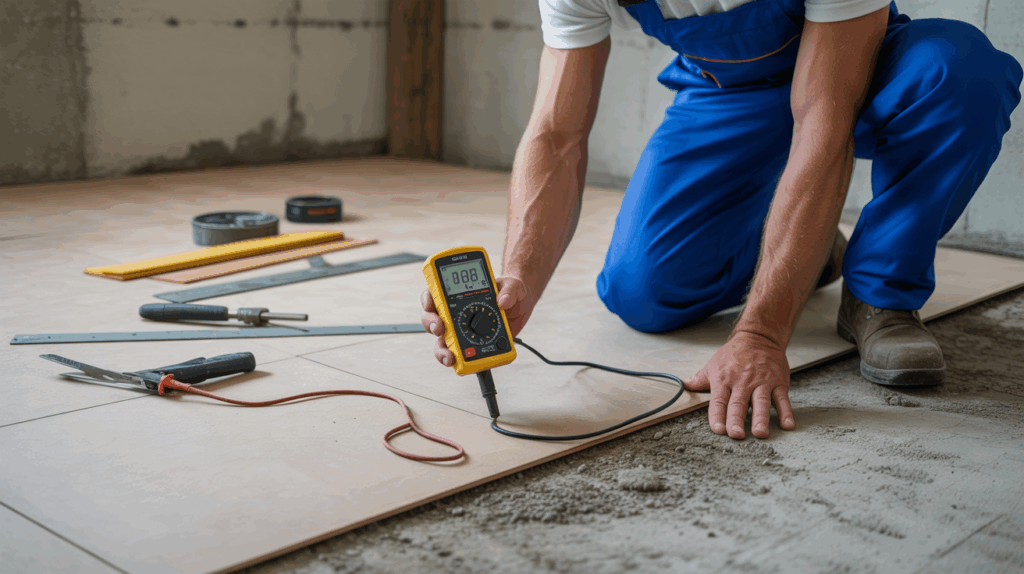
Evaluating subfloor condition is the first step in guaranteeing durable flooring. You’ll assess moisture sources, boundary conditions, and surface integrity with a methodical approach. Begin by inspecting visible materials and air gaps, then test moisture at multiple depths using a calibrated meter. Record readings and compare them to species- and adhesive-specific thresholds; unexpected elevations indicate remediation needs. Consider subfloor insulation where thermal variation could affect moisture dynamics, and ensure subfloor ventilation supports consistent drying without creating drafts. Document findings, plan corrective actions, and recheck after interventions to confirm a stable, dry substrate suitable for long-term installation success.
Essential Tools and Materials for Preparation
Having established the need for a dry, stable subfloor, you’ll select the precise tools and materials that enable accurate assessment and reliable prep. A concise Tools overview guides your instrumentation: moisture meters, straightedges, screwdrivers, pry bars, and utility knives. Essential Materials for preparation include patching compounds, self-leveling blends, primers, cleaning agents, and vapor barriers. Ensure compatibility with substrate and floor covering. Prioritize sealants that resist moisture migration and patches with proven adhesion. Document material specifications, batch numbers, and cure times for traceability. Material selection must align with environmental conditions, manufacturer recommendations, and project scope to prevent delamination and instability.
Techniques for Leveling and Flatness
Achieving a flat, stable substrate requires systematic leveling strategies that address both high and low spots before installation. You should assess substrate contour with a straightedge and a electronic level, recording deviations to guide corrective steps. Use self-leveling compounds for uniformity where tolerances permit, and hand-tack fasteners or mechanical fixings only as needed to avoid telegraphing. Choose patching mortars compatible with your final flooring system, and apply damp cure practices to prevent crack propagation. Consider adhesive selection early, ensuring compatibility with subfloor material and moisture. Balance aesthetics with performance, recognizing that flatness affects long-term appearance and wear.
Addressing Subfloor Defects and Structural Support
Subfloor defects, if left unaddressed, compromise both the performance and longevity of the flooring system, so prioritize structural integrity before installation. You’ll assess for cracks, soft spots, and movement, distinguishing between cosmetic flaws and structural failures. When defects exist, implement targeted remediation: beam and joist reinforcement, concrete patching, or controlled fastening to restore rigidity. Confirm subfloor flatness remains within tolerance after repairs. For moisture-sensitive systems, verify dry conditions to prevent future deformation. Underlayment selection should align with defect history and load expectations, while subfloor reinforcement enhances stiffness and reduces bounce. Document changes for warranty and future maintenance.
Finishing Steps: Testing and Final Prep Before Installations
Before you install, run through a structured set of tests and prep steps to confirm the subfloor and environment meet the project’s requirements. This finishing phase emphasizes moisture, flatness, and clean surfaces. Verify dimensional stability with local ambient conditions and subfloor moisture readings against adhesive and underlayment specifications. Inspect for laitance, dust, and debris; remove or seal if necessary. Perform surface abrasion tests and cure checks on primers. Document results for recordkeeping. Consider decorative accents and aesthetic enhancements only after substrate readiness is confirmed. Final prep includes confirming access to tools, control of temperature, and continuous monitoring until installation begins.
Conclusion
In subfloor prep, you’ll guarantee the surface tolerances that durable installations demand. You’ll assess moisture, verify flatness, and correct defects before any finish. You’ll use precise tools, following manufacturer specs, to achieve a stable base. You’ll document readings, implement controls, and anticipate seasonal shifts that can affect performance. You’ll respect installation tolerances and curing requirements, because a well-prepared substrate reduces failures, promotes longevity, and delivers consistent, high-quality flooring outcomes.